This post is about some discussion about Arnold and Redshift's motion blur render and motion vector passes for compositing. Please feel free to join the discussion and express your opinion/workflow.
By default, the scene looks like this. A rotor that's rotating and a ball falling. So we have both directional and rotating motion blur.
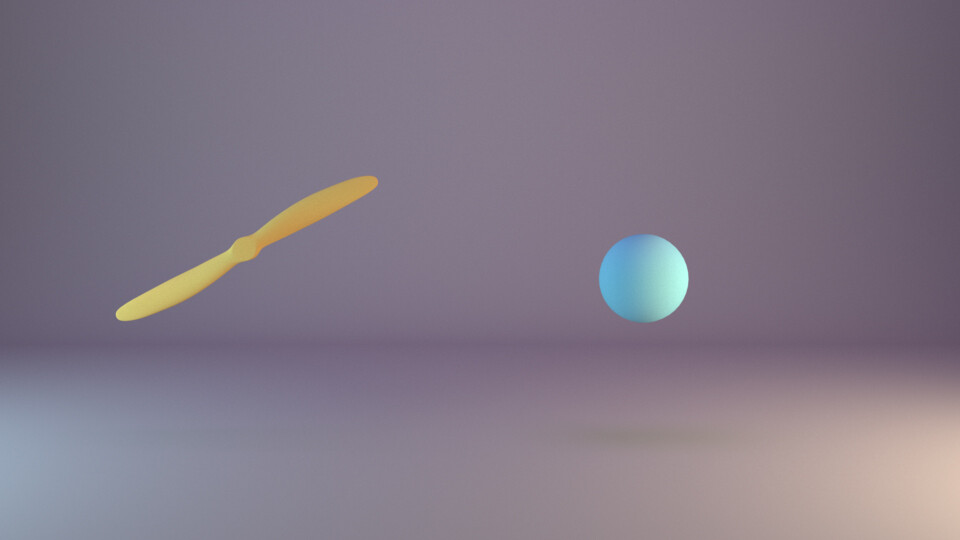

Motion blur rendered in Arnold with default settings (check the nice rounded motion blur of the rotor). This needs a hell lot of AA samples and time to render.
Firstly, to get a motion vector in Arnold, you have to
- enable motion blur (Render Settings > Motion Blur > Enable)
- and turn it off in the Diagnostics tab (Render Settings > Diagnostics > Ignore Motion Blur)
- add a motion vector AOV
Now, Arnold's default motion vector pass produces raw motion vector data. That means it's 32-bit data and the value of the motion vector pass can go well outside the 0-1 range. It goes to positive and negative values depending on the amount of motion produced by the object.


From the info region, we can notice that the data for the rotor's movement is there. The range of the value is really high. It seems like there's no data for the ball in the motion vector pass, but the ball was going down, so al the values are negative and eventually show black on the screen but holds the proper data.
From my research from the internet forums, I figured that Arnold's motion vector data doesn't work with RSMB (Reel Smart Motion Blur). But I guess that info is quite old cause it seems it works now. (the reason was RSMB expects normalized motion vector data, 0-1 range, whereas Arnold MV produces Raw 32 bit data)

RSMB Motion Blur from Arnold's motion vector pass. Seems quite fine. The angular motion blur will never work with post-motion blur, so that's alright. Here are the settings:

For Raw data, the maximum displace value should be 1.
Since it didn't use to work before, there was a workaround. Add a custom AOV for Arnold and connect aiMotionVector shader to it.

I renamed the custom AOV to RSMB.


this one is the aimotionvector shader settings. We can use two options. Encode Raw vector or use the max displace. First, The raw one.


Looks like the same, but the values are a little different on the rotor.

Result of aiMotionVector Raw data. Rotor's motion looks really weird. Also, got to use blur amount 1 (this is supposed to be equal to the Length value in the motion blur segment of Arnold render settings which is 0.5 for cinematic motion blur aka 180-degree shutter angle. So basically, double the blur amount to match the ball's motion blur.

Next, for the clamped motion vector. Uncheck encode raw motion vector and use max displace equal to the width of the render. (in my case, 960, cause render is 960x540, God! I'm such a cheapo)


Now it looks familiar at last, hahaha. This is the result for clamped motion vector from aiMotionVector shader.

Notice that the motion blur is actually half. So, to match the rendered motion blur, either the motion blur amount or the maximum displacement needs to be multiplied by 4. That seems really weird, along with the rotor motion blur.
Now for Redshift

Rendered motion blur is a match with Arnold's one. (what else was I expecting?!)
Now, in Redshift's motion vector pass, there's also an option for Raw and clamped.

Which produces a Raw motion vector, nothing unusual there.

The result for Raw motion vector from Redshift

With value of Blur amount 0.5 and Max displace 1, the rotor motion blur is quite nice, but the ball's motion blur is doubled.
Let see the result of clamped one. I used max motion 960 here (in redshift motion vector pass settings). Generally, with redshift, I use an estimation of the highest possible movement in pixels in my scene. But for this example, I used 960 to keep things equal to Arnold's settings.


Used the value, blur amount 0.5, which it should be, and Max Displace 960, which also should be. Now the ball's blur matches the render motion blur but the rotor's blur is cut in half. Kind of a weird outcome.
So, I found out that rendered motion blurs are the most accurate. If I want to apply motion blur in post, I have several ways to follow, but I have to use my artistic and logical decision to determine how much motion blur I should apply or if it's live-action footage, gotta match the amount of motion blur in the footage.
Let me know what you use, or a better workflow in the comments.